Hey there, Amiibo aficionado! So, you’ve got your hands on some fancy Amiibo figures or cards and are ready to bring them to life on your Nintendo Switch? This guide will walk you through the simple steps of scanning Amiibo figures and cards using both Joy-Con controllers and the Nintendo Switch Pro Controller. Let’s get ready to rumble (with amiibos, of course)!
Amiibos are collectable figures that contain a small NFC chip in the base of the figure. The NFC reader on the Switch controllers will then read the data on this chip to identify what figure it is and unlock the related, in-game reward or feature. It is also possible to use amiibo cards to unlock the same functionality which can be great for those on a tighter budget but still wanting the in-game rewards.
Table Of Contents
Ensure Games Amiibo Compatibility
First things first, make sure that the game you’re playing supports Amiibo functionality. Look for the Amiibo logo on the game’s packaging or in the game’s menu. If it’s there, you’re good to go! If not, well… we could always play a game of “Amiibo statues” instead?
A quick google search will also confirm whether a game has support or not. Generally speaking, if there has been a release of amiibo figures relating to a game, it is likely that there will also be support in the game if you were to scan them.
How To Scan An Amiibo On The Switch
Alright, now that we’ve confirmed Amiibo compatibility, let’s get down to business. You can use either the Joy-Con controllers or the Nintendo Switch Pro Controller for this magical summoning process. Here’s how:
Joy-Con Controllers
- Power-up: Turn on your Nintendo Switch and launch the game. Some games also require you to press a button or use an ability in game such as using the amiibo ability in Breath of the Wild.
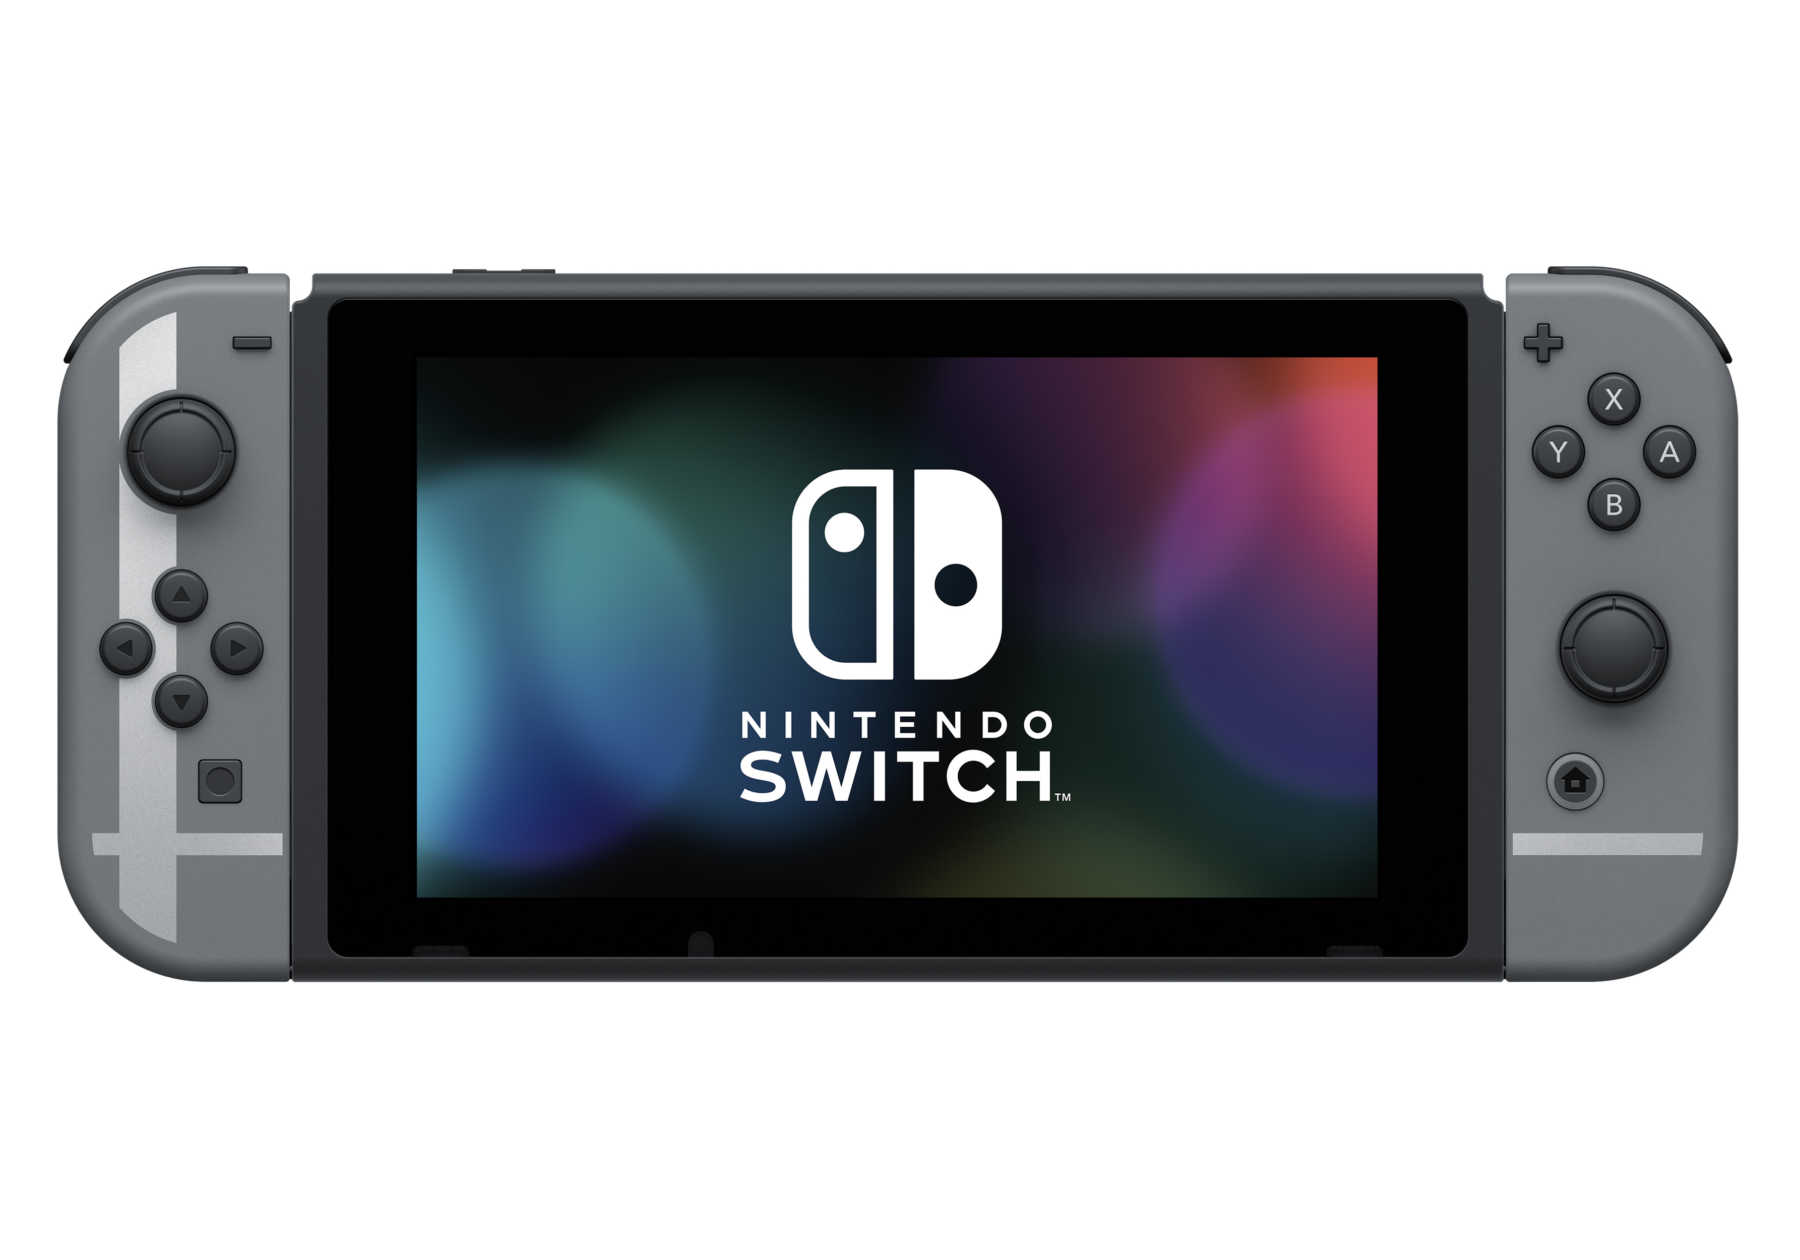
- Detach and prepare: Take your Joy-Con controllers off the console. Focus on the right Joy-Con (yes, that’s the one with the “Home” button).
- Summoning spot: Locate the NFC touchpoint on the right Joy-Con. It’s hiding right beneath the joystick.
- Amiibo, assemble!: Place the Amiibo figure or card on the NFC touchpoint, like a gentle high-five between your Amiibo and the Joy-Con.
- Voila!: The game should now recognize your Amiibo, and the magic unfolds! Be prepared for a delightful in-game surprise.
Nintendo Switch Pro Controller
- Power-up: Turn on your Nintendo Switch and launch the game.
- Connect: Make sure your Pro Controller is connected to your Nintendo Switch.
- Summoning spot: Locate the NFC touchpoint on the Pro Controller which is right in the center, where the Nintendo Switch logo is!
- Amiibo, assemble!: Place the Amiibo figure or card on the NFC touchpoint. Watch as your Pro Controller and Amiibo share a tender moment.
Celebrate the Amiibo Magic!
Congratulations, you’ve just unlocked the power of your Amiibo! Whether it’s new items, characters, or other hidden gems, you’re now ready to enjoy the full Amiibo experience on your Nintendo Switch. Remember, sharing is caring – so don’t be shy about scanning your friends’ Amiibo figures and cards for a little extra magic!
Now, go forth and conquer the Nintendo Switch universe with your newfound Amiibo powers! And remember: with great Amiibo power comes great Amiibo responsibility. Happy scanning!


