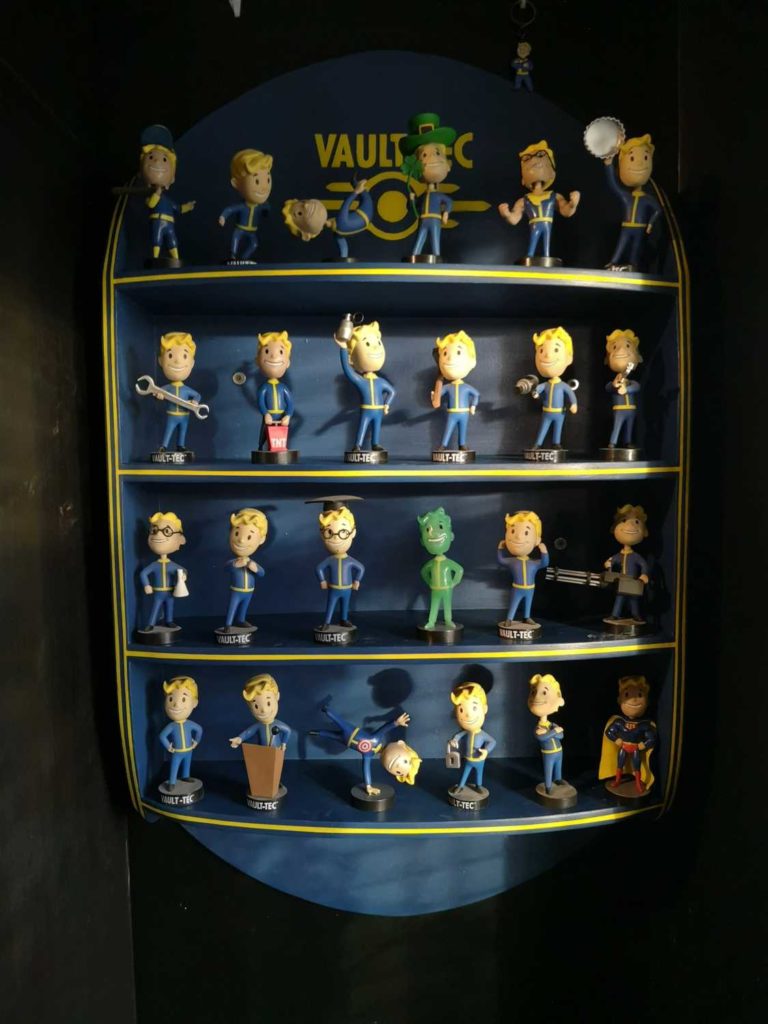
Fallout 3 was the first game that I played in the franchise and I have been a huge fan ever since. There is just something I find so captivating. Having built up a collection of Fallout bobbleheads over the last few years, I was finding it hard to keep them all on display. I had some spare plywood sitting around and decided that I would have a go at creating my own DIY Fallout bobblehead shelf.
I am by no means a carpenter, in fact, I am a total nerd who is too stubborn to accept I do not have the skills for something! Since this sheet of timber was going in the bin anyway, I set off to see if I could turn it into something that resembles the cool fan-made Fallout bobblehead shelves that I have seen online.
Building A Fallout Bobblehead Shelf
This turned out to be a lot more difficult than I had expected it to be. Not for the reasons I had expected, however. Using a circular saw, I was able to cut the plywood sheet up pretty fast. With a jigsaw, I was then able to cut some nice curves into the shelves to make it a little curvier than the design in the Fallout franchise makes such good use of.
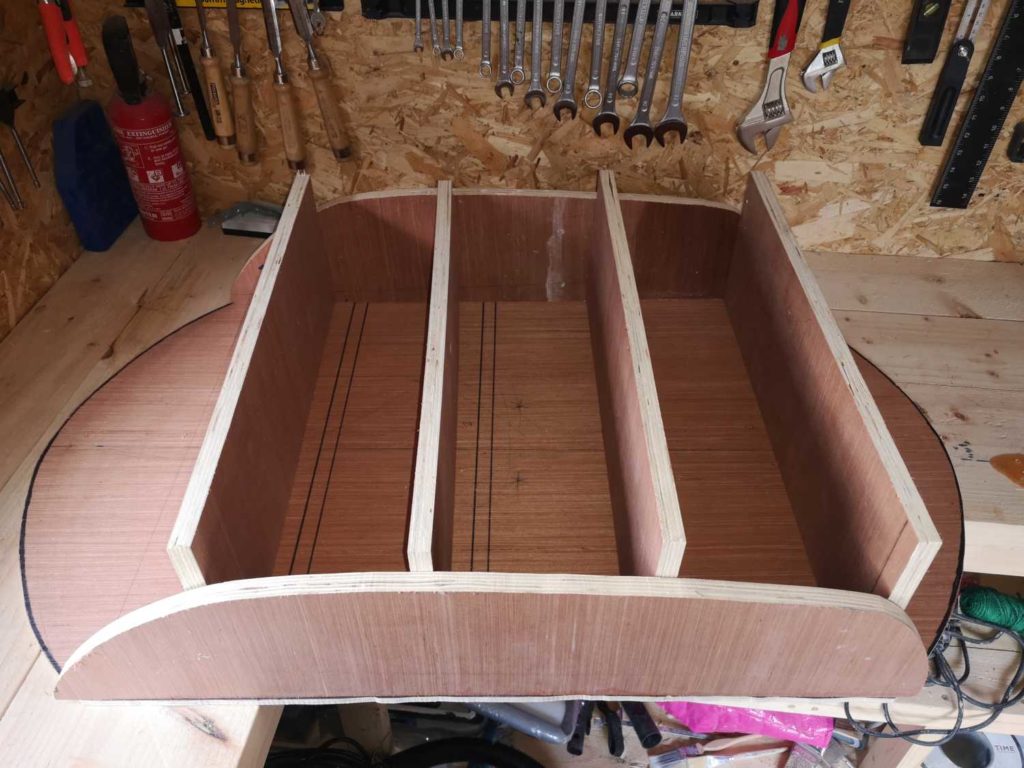
The shelves all fit together quite well and with a little help from a saw blade on an oscillating multi-tool, I was able to add some twisted curves to help the curve of the shelf flow nicely into the curve of the side supports. With plywood being plywood, a few nicks here and there where the timber fell off did ruin the look of it a small bit but I knew I could rely on a bit of filler to save me from having to look at those mistakes forever.
After a bit of filling and sanding, the overall finish was quite good. Since I knew it was going to be painted, there wasn’t much of a worry that the mistakes and chips would ruin the finish. Enough sandpaper would eventually allow me to have a nice smooth finish that I could paint over.
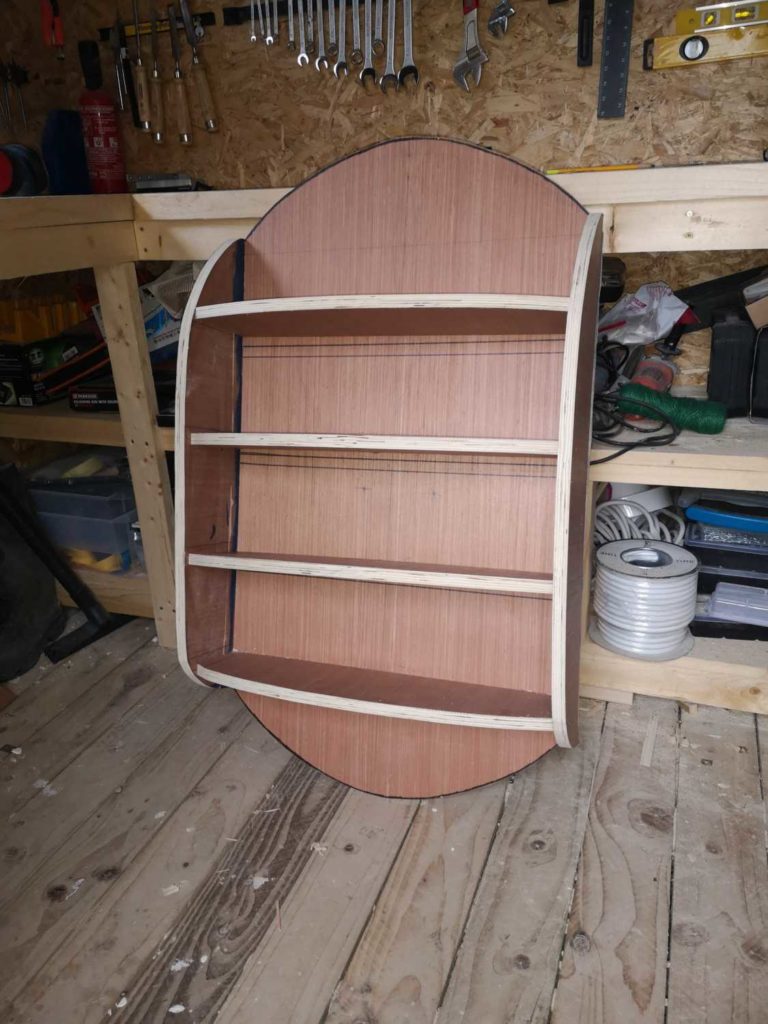
At this point, the shelf was pretty much complete. It might not be perfect, but for my standards, it was as good as I was going to get. I was quite happy to be honest. It was looking like I had hoped it would. Surely, I was in the clear now and just needed to slap a few coats of paint on it? Nope!
Painting The Bobblehead Stand
Having spent plenty of time searching for Bobbleheads in the game to complete my Fallout 4 bobblehead stand I could nearly picture the colour scheme in my head. While on the subject, I am still upset that I was never able to get a complete bobblehead stand in Fallout 76.
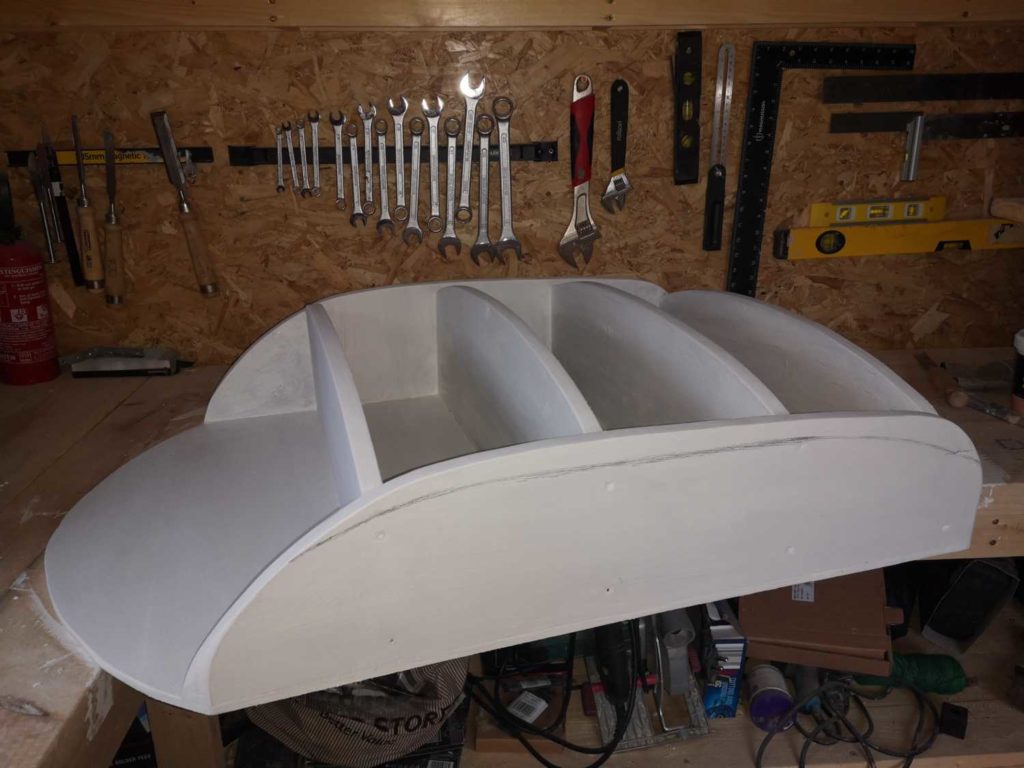
This step turned out to be the most difficult part of the entire process and I was not expecting this at all. I started out using a primer. Since this is plywood, it made sense to help fill in any leftover holes and gaps and to help seal up the plywood a bit better so the paint would stick to it much better. This step obviously went fine, you can’t go wrong with a base layer that is going to be painted over.
Mixing the paint colour was the first hurdle. I had some blue wall paint in the shed but it was much too dark so I had to mix a bit of white in to make it a bit lighter. After a few failed batches, I eventually got it close enough. I kept a luck bobblehead to improve my chances of getting it right. Eventually, I felt I got it close enough and started painting the shelf blue.
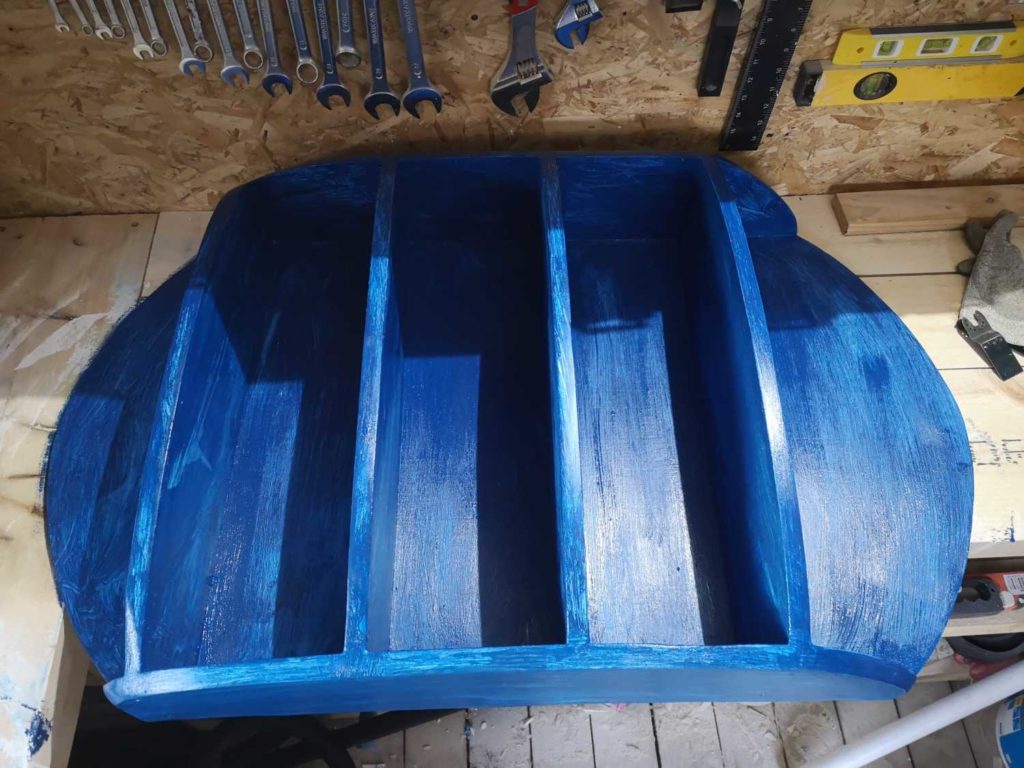
The blue ended up needing three coats. Painting it in the same shed that I was cutting and sanding it was not the best idea. I found myself having to flick off lots of dust but the blue was dark enough to hide most of it that it looked pretty good.
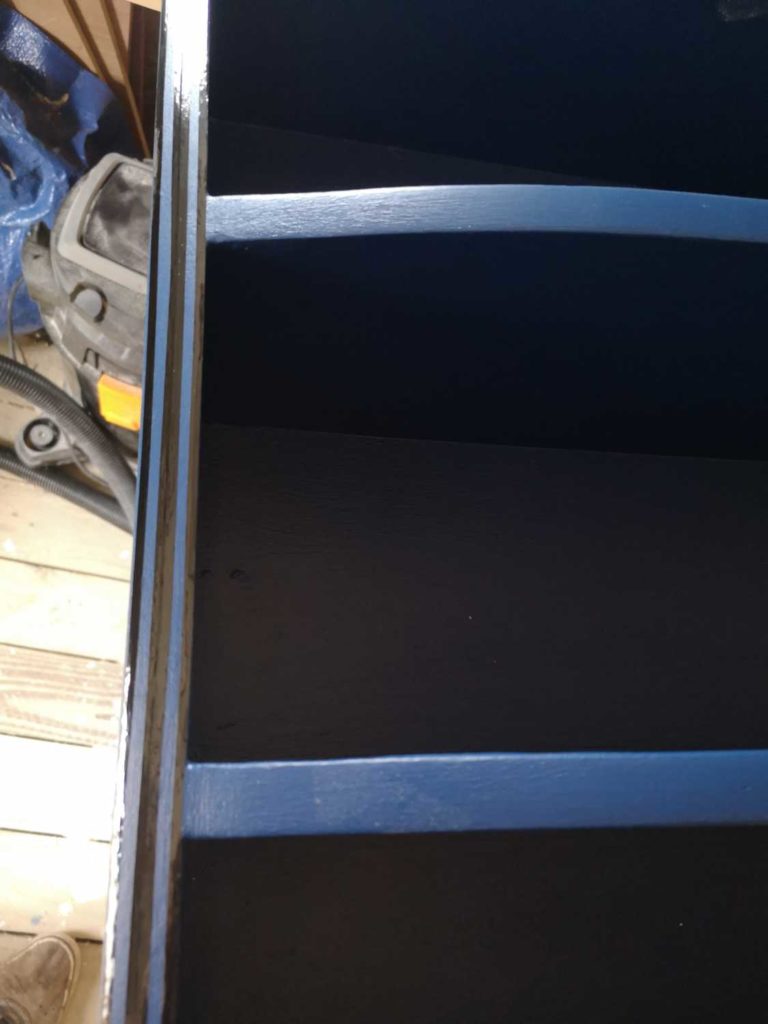
Even though I had put effort into filling any dents and cracks and then on top of this put down a primer, there was still quite a few dents and imperfections showing up. I was a little annoyed about this but hoped that when it was up on the wall, nobody would be up looking at it as closely as I was while painting it.
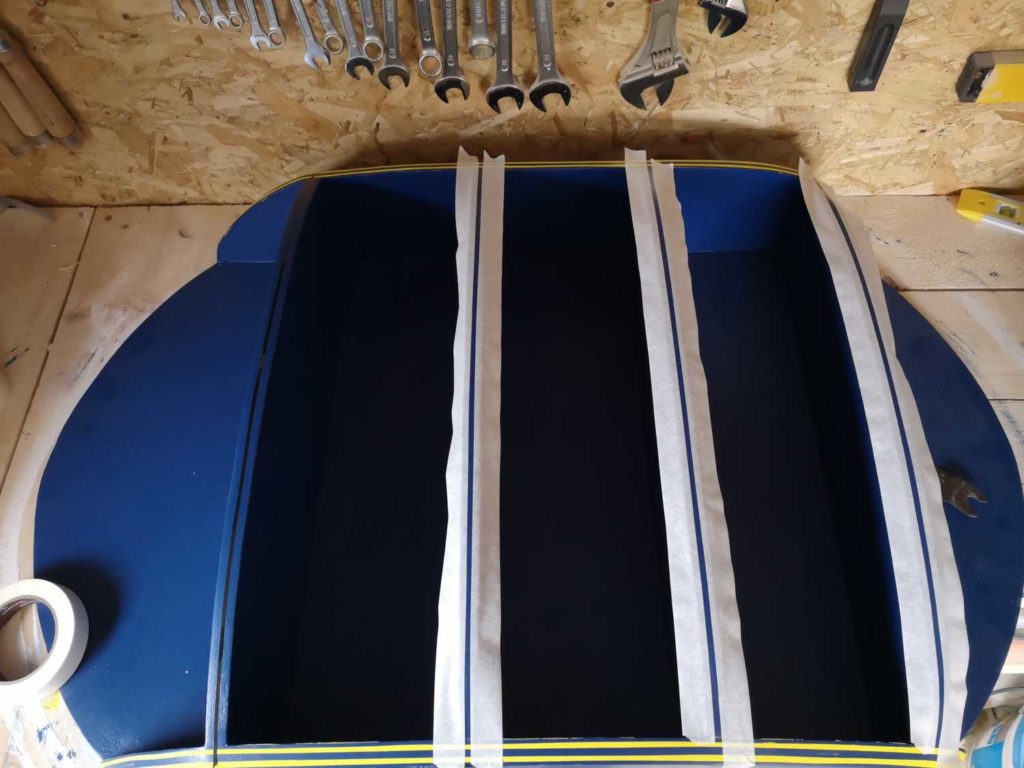
The final step was adding some yellow pinstripes. I am someone who can hardly draw a straight line using a ruler, so there was no hope in hell I was going to be able to draw these pinstripes by hand. So I had to rely on some tape to help me draw a straight line.
This wasn’t as easy as I had expected. Due to how I had mitred the ends of the shelves and supports to turn and blend in with the other angles, they were wider than the straight edges. So my perfect double pinstripes didn’t look quite as even when they got to this part. I had to try and make them a little wider which was the rocket science level of drawing for my abilities.
This is probably the only part of the bobblehead shelf that I was not fully happy with, but again, it was the best I could do so I had to hope it would just look good once I had it all touched up and finished.
The final stage was to add the Vault-Tec logo. As I mentioned, I can’t draw freehand and I can’t rely on masking tape to create something this detailed with curves. I didn’t have the ability to print a sticker or even access to a regular printer to make a paper stencil so I had to come up with some kind of hack. I found an app that would project an image onto your phone screen like pokemon go using AR mode. Propping my phone up, I was able to sort of trace over the shape of the picture by looking through my phone screen. It came out quite well but it was a little off centre. I couldn’t really move it easily so I had to erase it all and come up with a new solution.
The only way forward was to draw onto paper and make a stencil. This way I could position it perfectly before I started painting. Using some plasterboard mesh tape, I was able to stick it to the bobblehead stand in a way that would let me sort of paint through it and I could just touch it up by hand afterwards.
The result was pretty good and although there are some visible brushstrokes that I couldn’t figure out how to fix, this came out pretty good, all things considering.
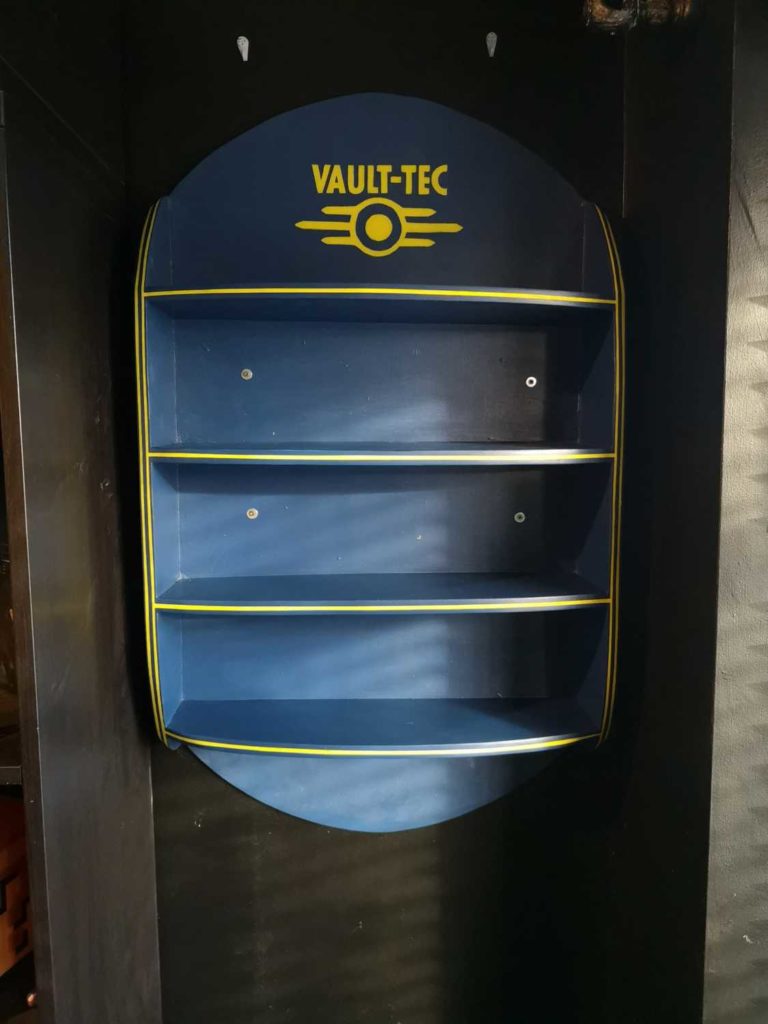
Once the paint had dried, I was good to go! I had considered putting some sort of varnish on it but I didn’t want it to look like it was some kind of shiny plastic. The shine might also highlight mistakes so I said I would count my blessings and get this thing up on the wall while It was still looking well.
I am missing a few bobbleheads that I will have to pick up but the final product looks quite good. Considering it cost me no money at all, It was worth the effort it took. Would probably cost about €30 euro if I had to buy materials to make another one. In total it probably took me about 10 hours to make it, with quite a bit of waiting in between for the paint to dry. I am pretty happy with the final result. I finally have a bobblehead stand to display the collection. I will need to invest in an art bobblehead to help with my future painting.