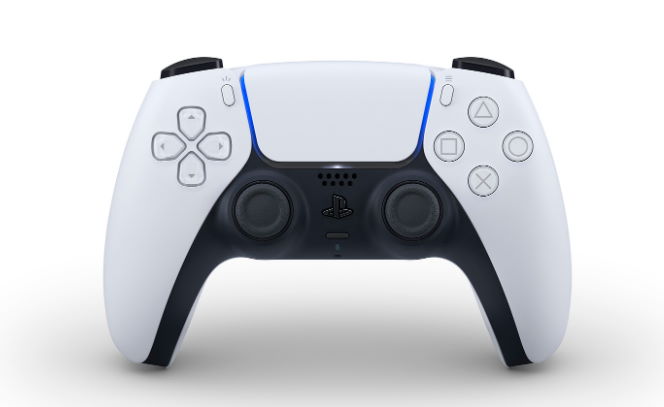
Keeping your DualSense controller’s firmware up-to-date is crucial for maintaining optimal performance and compatibility with your PlayStation 5 console. In this informative guide, we will walk you through the process of checking for and installing firmware updates for your DualSense controller, explain the benefits of keeping the controller’s firmware updated, and discuss how it can help prevent and resolve issues.
Table Of Contents
Benefits of Updating DualSense Controller Firmware
- Improved performance: Firmware updates can improve the overall performance of your DualSense controller, ensuring smooth and accurate input during gameplay.
- Enhanced features: Updates can introduce new features or improvements to existing features, such as haptic feedback and adaptive triggers, providing an even more immersive gaming experience.
- Bug fixes: Firmware updates can address known issues or bugs, helping to prevent and resolve potential problems with your controller.
- Compatibility: Keeping your controller’s firmware updated ensures that it remains compatible with the latest PlayStation 5 system software, avoiding potential connectivity or functionality issues.
How to Check for and Install DualSense Controller Firmware Updates
The following step-by-step guide will cover how to install a firmware update for your DualSense controller on the PlayStation 5.
Step 1: Connect Your DualSense Controller to the PlayStation 5
- Ensure that your PlayStation 5 console is turned on and connected to the internet.
- Connect your DualSense controller to the PlayStation 5 using the USB-C cable provided with the console. If you do not have the original cable, you can use any USB-C to USB cable that supports data transfer.
Step 2: Check for Firmware Updates
- On your PlayStation 5 console, navigate to the Settings menu by selecting the gear icon in the top-right corner of the home screen.
- In the Settings menu, select Accessories, followed by Controllers.
- In the Controllers menu, select Update Controller Software. The console will automatically check for available firmware updates for your connected DualSense controller.
Step 3: Install Firmware Updates
- If an update is available, you will be prompted to install it. Select Update to begin the installation process.
- During the update, your controller’s light bar will flash, indicating that the firmware is being updated. Do not disconnect the controller from the console during this process.
- Once the update is complete, the controller’s light bar will stop flashing, and a notification will appear on the console, confirming that the update was successful.
- You can now disconnect the USB cable and continue using your DualSense controller wirelessly.
Step 4: Update Additional Controllers (Optional)
If you have multiple DualSense controllers, it is important to update the firmware on each controller. To do this, simply repeat the process for each controller:
- Connect the additional controller to the console using a USB-C cable.
- Navigate to Settings > Accessories > Controllers > Update Controller Software.
- Install the firmware update, if available.
By keeping your DualSense controller’s firmware up-to-date, you can enjoy an optimal gaming experience on your PlayStation 5 console, with improved performance, enhanced features, and fewer issues. Don’t forget to regularly check for firmware updates to ensure that your controller remains compatible with the latest system software and to take advantage of any new improvements or bug fixes.


