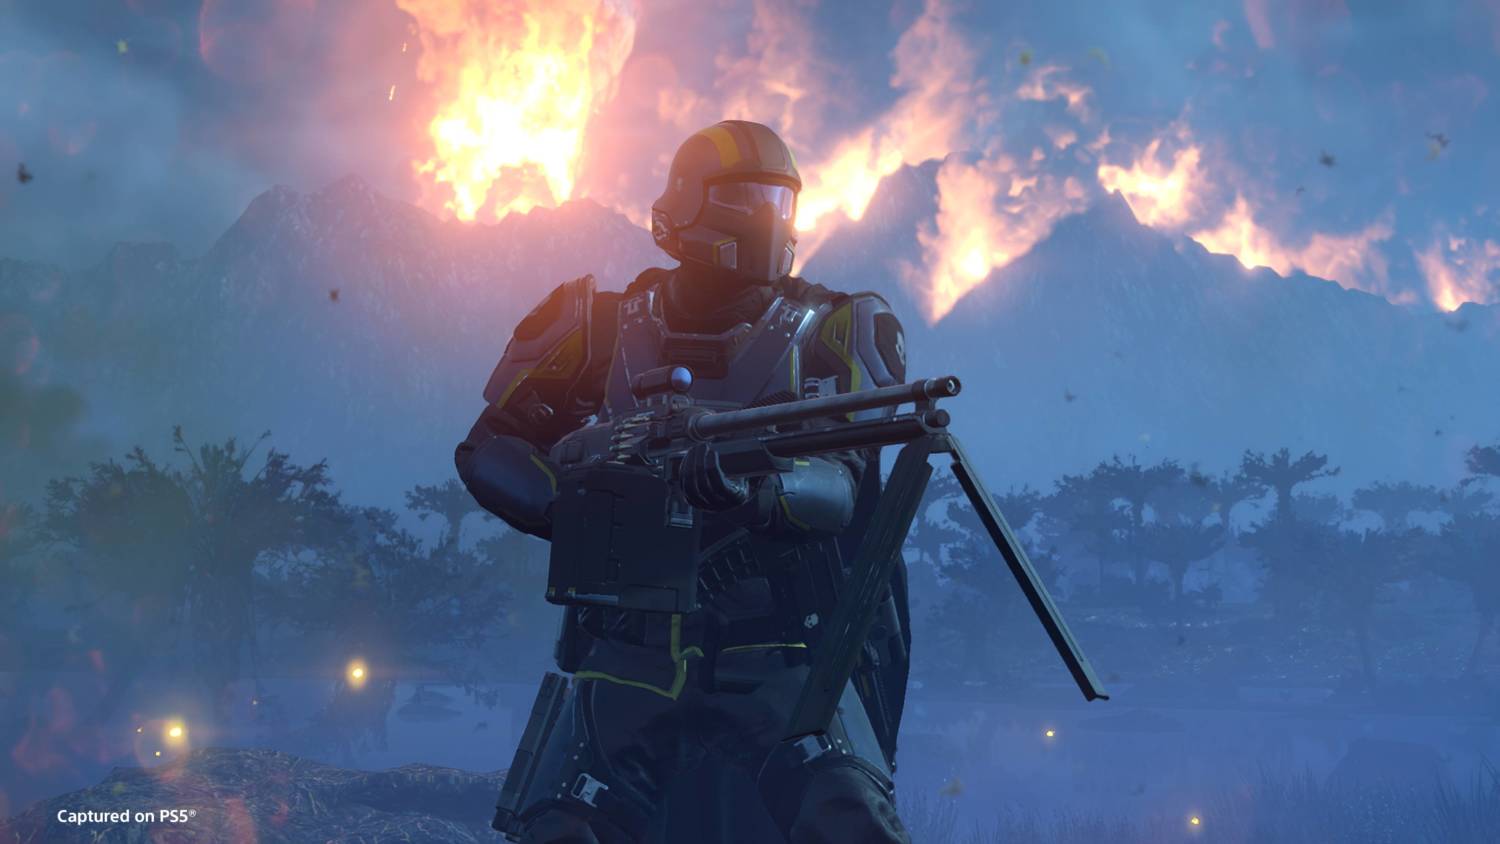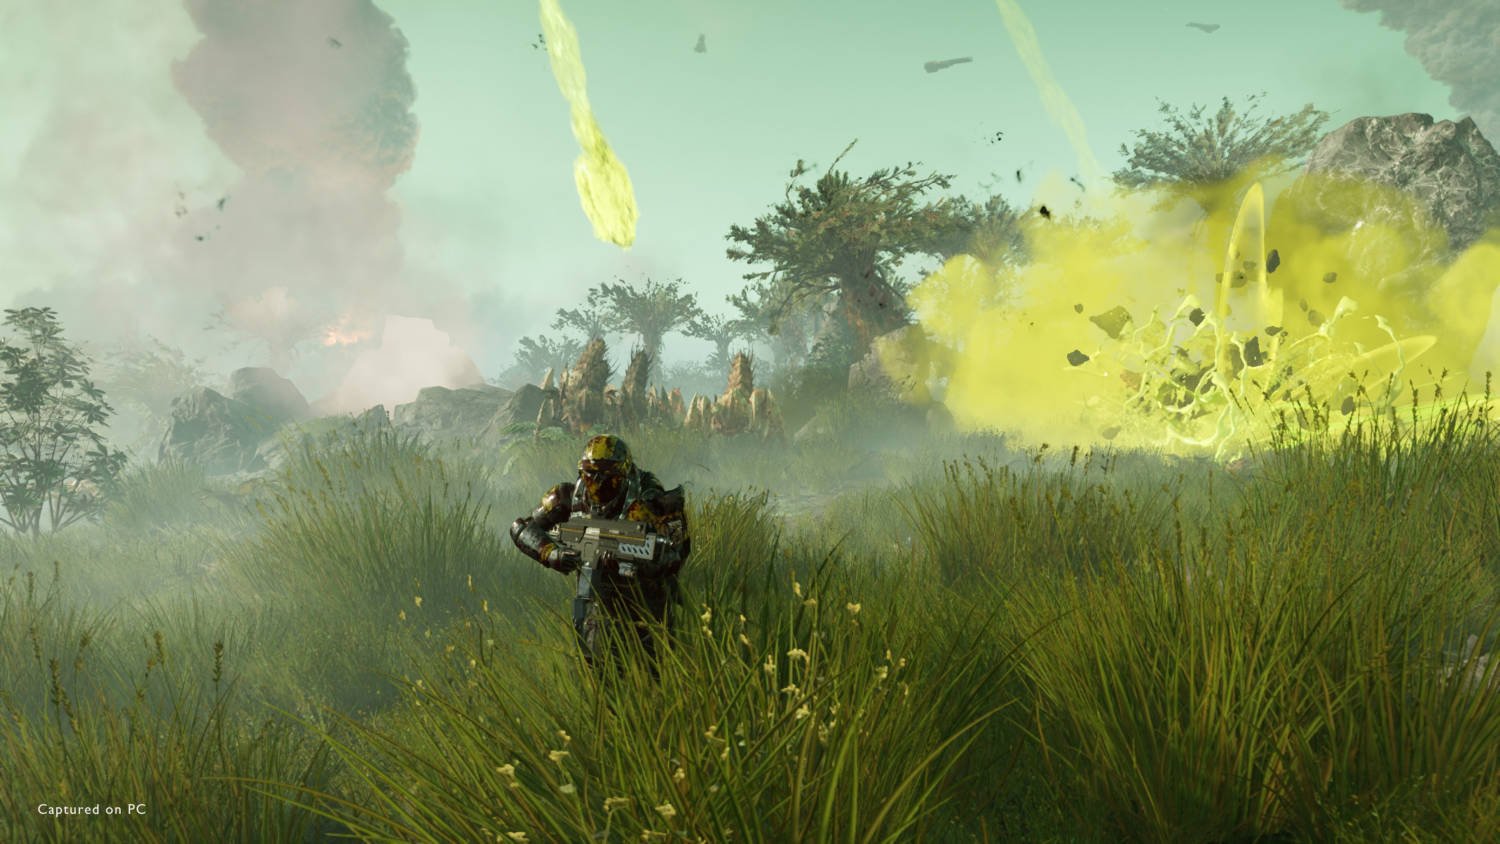
In Helldivers 2, understanding your enemy is half the battle. With over 20 enemy types, each with unique vulnerabilities and attack patterns, mastering the art of combat requires insight and strategy. This guide delves into detailed tactics for engaging each enemy type, providing essential knowledge to both rookies and veterans of the battlefield.
Termanids
Scavenger
Tiny but deadly in groups, Scavengers can quickly overwhelm the unprepared. Their speed is their advantage, darting towards you to nibble at your ankles. While individually weak—dying from a single shot—swarms can be lethal. Keep moving, stay aware of your surroundings, and use rapid-fire weapons to dispatch them efficiently. They’re a stark reminder that even the smallest enemies can pose a significant threat if ignored.
Bile Spitter
Akin to Scavengers in size but armed with a corrosive bile attack, Bile Spitters introduce a ranged threat. Their lethality comes from their ability to hit you from a distance, albeit a short one. Like Scavengers, they fall to a single shot, but prioritizing them in a swarm is crucial to avoid unnecessary damage. Their presence emphasizes the importance of dealing with ranged attackers swiftly to maintain battlefield control.
Warrior
Warriors are the foot soldiers of the Termanids, lacking the armor of their more formidable brethren but compensating with numbers. They’re a step up in durability from Scavengers and Bile Spitters but can still be dispatched with a shotgun blast or a few rounds from an assault rifle. Aim for center mass to avoid them becoming headless attackers. Warriors teach the value of ammunition management, as wasting high-powered ammo on these can leave you wanting against tougher foes.
Nursing Spewer
Deceptively similar to the Bile Spewer, the Nursing Spewer’s shorter, less damaging attacks make it slightly less of a threat. The trick is to aim for the head rather than the more durable egg sack. Observing its attack pattern reveals when to dodge, making it a practice in timing and precision shooting. Effective Nursing Spewer management is about recognizing attack tells and exploiting enemy vulnerabilities.
Brood Commander
Acting as mini-bosses in lower difficulties, Brood Commanders demand respect on the battlefield. Fast and resilient, they require sustained fire to bring down. Legs are the key target here, illustrating the need to sometimes focus fire away from the instinctual headshots. Their speed and durability test your ability to prioritize threats and adjust tactics on the fly.
Hive Guard
Protecting nests with formidable armor, Hive Guards challenge your loadout’s versatility. Armor-piercing weapons are ideal, but targeting the unprotected neck can also be effective. Engaging these requires a blend of aggression and caution, pushing you to adapt your strategy based on the available arsenal.
Hunter
These agile predators dodge incoming fire with unnerving precision, making them among the most challenging to hit. Their leap attacks are deadly, and their ability to evade shots demands accuracy and patience. Close-quarters combat reveals the utility of the melee attack against fast-moving targets, providing a valuable lesson in utilizing all available combat options.
Stalker
Invisible and faster than any other Termanids, Stalkers bring fear with their presence. Their ability to go invisible and their unmatched speed make them a top priority. Utilizing detection tools like spores or smoke grenades can level the playing field, showcasing the importance of tactical gear beyond straightforward weaponry.
Bile Spewer
An evolution of the Nursing Spewer, the Bile Spewer’s attacks are more prolonged and wider-reaching. Distance is your friend here, with long-range weapons or explosives being particularly effective. The challenge they present underscores the importance of engagement range, encouraging players to consider positioning as much as firepower.
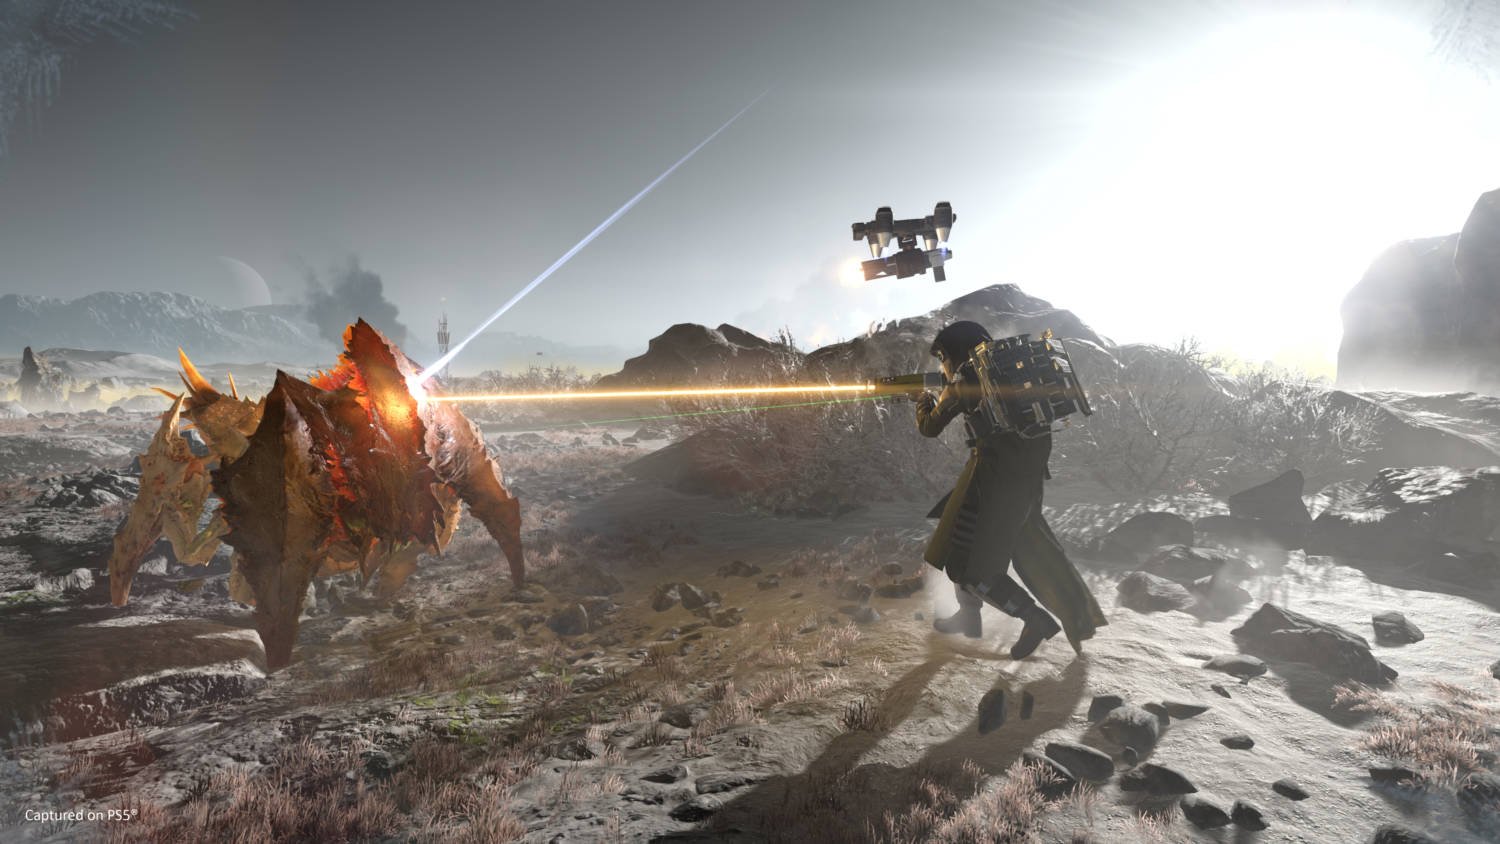
Charger
Mistakenly believed to be vulnerable from the back, the Charger’s true weakness lies in the armor on its legs. Stripping this armor exposes them to increased damage, offering a critical lesson in identifying and exploiting enemy weak points for efficient kills.
Bile Titan
Nearly invulnerable, with only massive ordnance making a significant impact. The strategy for Bile Titans revolves around heavy firepower and exploiting their underbelly sacks for damage. Facing them teaches the value of teamwork and the strategic deployment of heavy weapons, emphasizing that some enemies require more than just bullets to bring down.
Automatons

Raiders (Basic, MG, Rocket)
The cannon fodder of the Automatons, Raiders in their various forms teach the basics of target prioritization. Rocket Raiders, in particular, underscore the importance of mobility and cover, as their firepower can quickly end your mission.
With explosive jump packs, Assault Raiders introduce the danger of proximity-based threats. They emphasize the importance of maintaining distance and highlight the tactical advantage of forcing enemies into disadvantageous positions before delivering a fatal blow.
Marauders and Troopers
Though not as common, these units reinforce the concept of adaptive combat strategies. Encountering a Trooper outside of a Scout Strider is rare, but it serves as a reminder to be prepared for any combat scenario, emphasizing versatility in player skills and loadout.
Brawlers
Their melee rush can be intimidating, pushing the importance of spatial awareness and the effective use of ranged weaponry to prevent them from closing the distance. They test your ability to control the flow of battle, keeping threats at a manageable distance.
Scout Strider
This mech highlights the importance of identifying and exploiting enemy vehicle vulnerabilities. The open cockpit at the back offers a valuable lesson in tactical positioning and the significance of enemy operator elimination in vehicle encounters.
Berserker and Devastators (Standard, Heavy, Rocket)
Facing these more formidable foes requires an understanding of their specific vulnerabilities and the strategic use of heavy weaponry or explosives. They teach the importance of recognizing the threat level of different enemy types and adapting your tactics to meet the challenge.
Commissar and Drop Ship
Highlighting the value of disruption tactics, targeting Commissars before they can summon reinforcements, and dealing with Drop Ships effectively can prevent overwhelming scenarios. They introduce players to the concept of strategic enemy elimination to control the battlefield’s flow.
Hulk Variants (Bruiser, Obliterator, Scorcher)
The Hulks serve as a master class in the importance of targeting weak points and choosing the right moment to strike. Whether it’s disabling their weaponry or attacking vulnerable spots, they emphasize the need for tactical diversity and the strategic use of powerful weapons.
Annihilator Tank
As the pinnacle of Automaton engineering, the Annihilator Tank encapsulates the ultimate challenge in target prioritization, exploitation of weak points, and the judicious use of heavy ordnance. It’s a final exam in battlefield tactics, pushing players to apply all they’ve learned against the toughest of foes.
In conclusion, Helldivers 2 presents a rich tapestry of enemy types, each designed to test and refine different aspects of your combat skills. From the smallest Scavenger to the colossal Bile Titan, success hinges on understanding your enemy, adapting your tactics, and effectively utilizing your arsenal. As you progress, remember that every encounter is an opportunity to learn and improve, setting the stage for victory against the galaxy’s most formidable threats.