
Here we are, the first big battle of Horizon: Forbidden West. Everything you have done up until this point probably isn’t going to have you prepared for the difficulty of this battle. Unless you are over level 20, you can expect to die with a single hit of many of the Tremortusks attacks. This guy is an absolute beast, so you need to be well prepared for this.
This guide is going to give you some helpful tips on how to defeat the Tremortusk along with a video guide showing you how to battle the Tremortusk and defeat it.
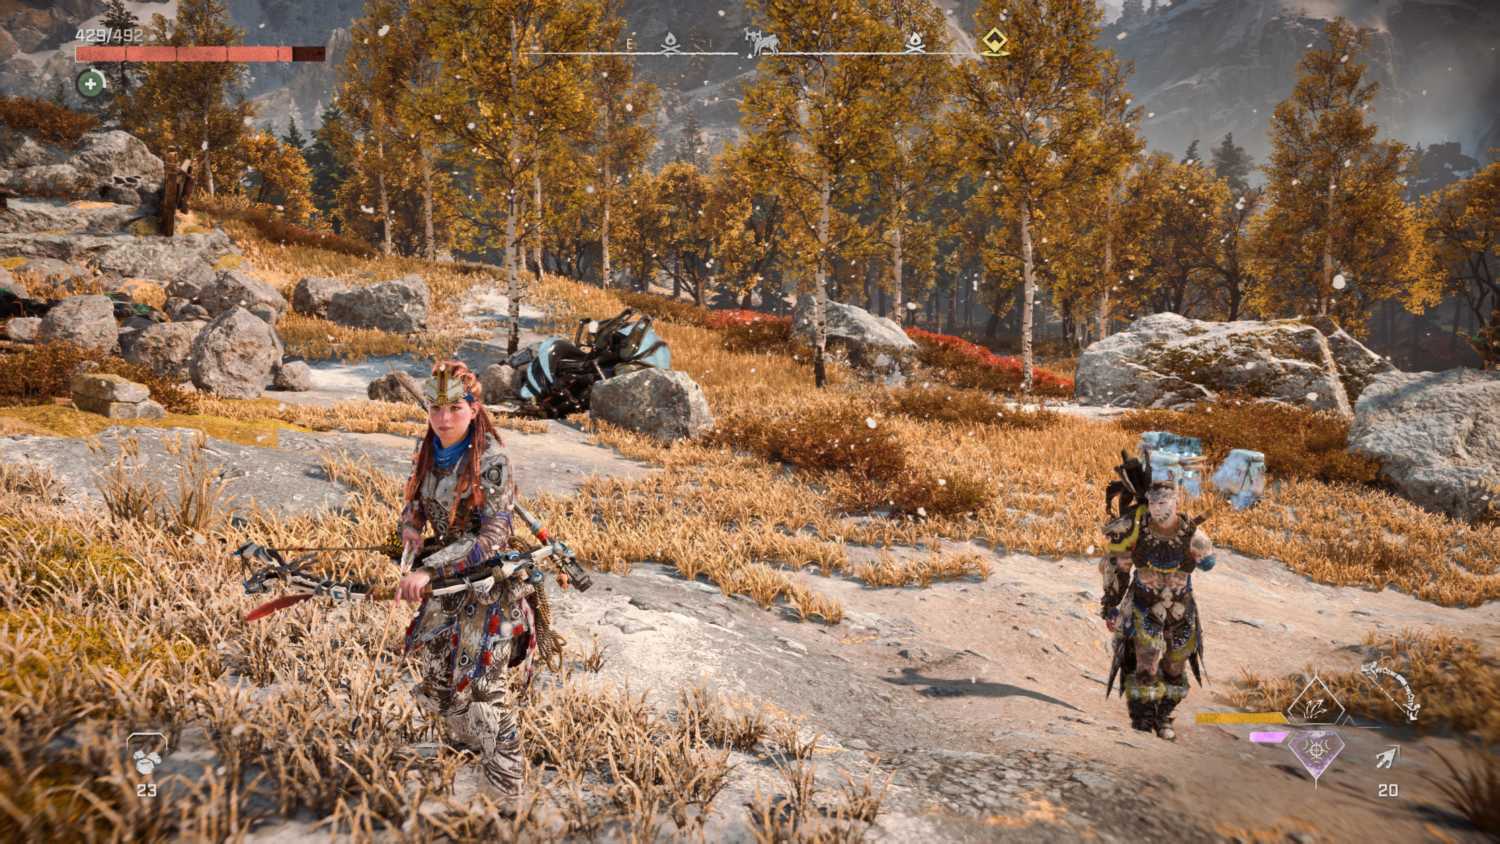
How To Defeat The Tremortusk
The Tremortusk is an incredibly large elephant-like machine that takes a huge amount of punishment to take down. To make matters worse, it often takes one direct hit from the purple tusk lasers or the side cannons to kill you, resetting the entire boss battle back to the start again.
The Termortusk is vulnerable to ice and if you scope out the area, you will see that there are quite a few ice cans and explosive items that you can shoot with ice arrows to trigger an explosion that will cause damage to this enemy.
Tremortusk Weaknesses
As mentioned already, the Tremortusk is vulnerable to ice damage but there are also several weak spots in its armour that you can target. I will admit here that these are often very difficult to hit. Partially due to how the Tremortusk moves but also because getting yourself in a position where you can attack them will also result in you being exposed to taking damage from one of the many high powered weapons this enemy has.
One of the best tactics would be to try and neutralise the actual weapons of the Tremortusk. If you are a sharp enough shot, you may be able to detach those high powered tusk cannons. Eliminating these should make this battle considerably easier.
Use Environmental Traps and Weapons
If you scope out the area, you will see that there are lots of explosive ice cans and even a dead Ice Bellowback with a tank still intact. You should be able to time your attacks well enough to detonate these explosive elemental traps to cause additional damage to the Tremortusk which will also give you the benefit of the elemental damage, giving you some valuable time to cause some more damage with your weapons.
There are also two large ballistas on the hill area behind the Tremortusk. There is not a large amount of ammo in these but they pack a massive punch. The downside is that you will be highly exposed to attack while you are using these. Make sure to time it right when the Tremortusk is partially blocked by the nearby walls so that you can land some handy attacks on the elephant while you are not exposed to attack.


