
As you make your way through The Last Of Us Part 2, you will often find abandoned buildings and other areas that contain a stash of weapons and supplies. These will often be easy enough to locate, but difficult to get into. When you are low on ammo or are playing on hard difficulty and are always low on everything, these stashes are critical to keeping you from getting your ass kicked.
There are quite a few stashes like this hidden around the game. Normally when you find one, you will hear Ellie comment on it. Usually something like “I wonder how I get in there?”. For most of these, you need to get creative with your methods to get inside, as they are never straight forward. I will create a list below of all known supply stashes in this game. If there are any I have missed, please leave a comment and let others know how to get inside.
There are lots of other stashes that are worked into the hidden safes in this game. This guide is just for the environmental stashes that are in buildings. You can find the guide for Last of Us 2 safe locations and combination codes here.
The Barkos Stash
Chapter: Seattle Day 1
Encounter: Downtown
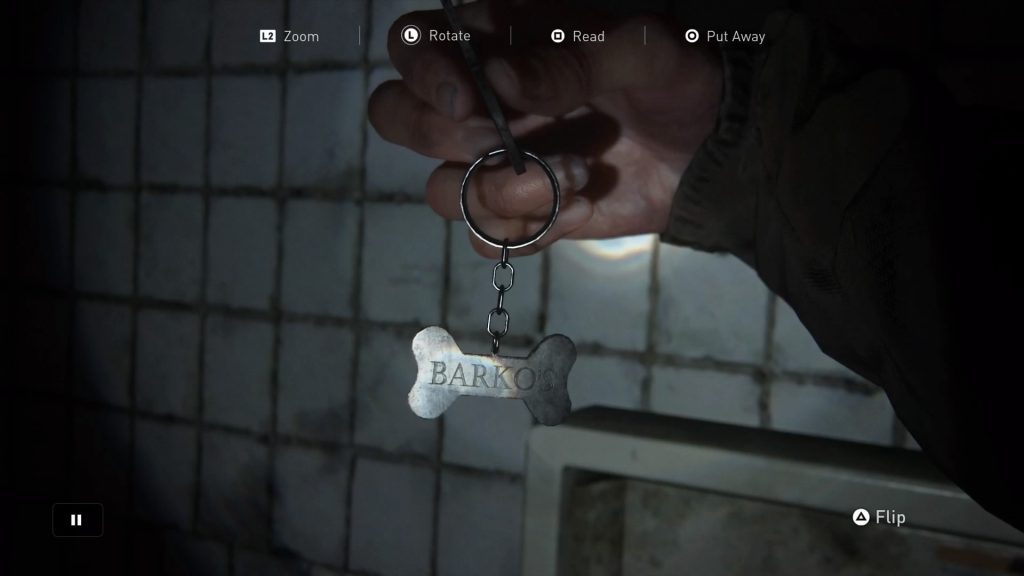
I have created a larger guide for this stash as it takes a little more work. You first need to find the key and will then need to find the door. Quite a bit of walking involved. I have included a video in the full guide to help you out. You can follow this full guide to find the door for the Barkos key stash or check out the video below.
Locked Room In Conference Center
Chapter: Seattle Day 2
Encounter: The Seraphites
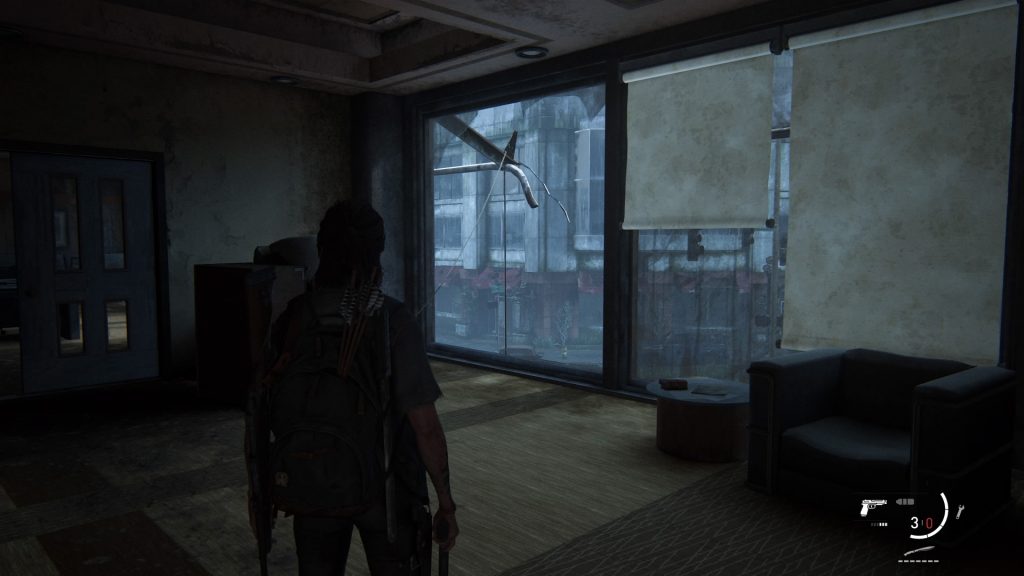
You will come across this large glass office building as you are making your way through the ruins of the city. You will need to climb up through the elevator shaft from the lobby below. When you get up, the stash door is locked.
You need to smash the window out into the street. Pick up the nearby rope and go to the broken window. You will need to throw the rope so that it catches on the metal bar that is above the windows. This will make the rope hang down. You can now catch onto the rope and swing over to the platform that will allow you to get into the locked room.
Locked Train Cart Stash
Chapter: Seattle Day 3
Encounter: The Flooded City
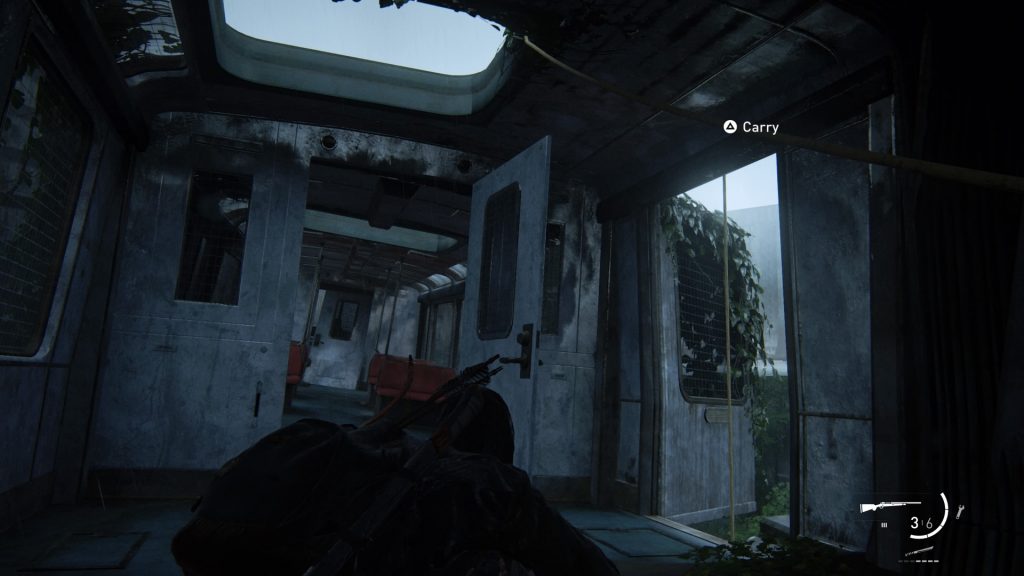
During your adventures white water rafting, you will reach an area where there are some NPCs having a battle. These look like the wolves having a shoot out with some scars in an office building. If you look to the left, you will see two train carts, one of which is at ground level. Head over to this and you will be able to climb through and find that the cart at the top is locked and has a stash of supplies inside.
You will see a rope nearby. You will need to throw this through the window in the roof of the cart so that it will be hanging in front of the open door. You can jump out and climb up this rope now to get onto the roof of the cart. You can now get into the locked cart through a gap in the roof of this cart.
Canteen In Subway
Chapter: Seattle Day 1
I have written about the subway canteen puzzle separately as this is a bit different to the other ones. You will need to figure out a puzzle to give you the code to unlock the door. There is still some great loot in here if you need it. 15243 is the code for those who want to skip all the fluff and get right to the loot inside.


