In Helldivers 2, sentry turrets play a crucial role in shaping the battlefield, offering players a strategic edge through passive damage output and support. This guide delves into the specifics of each turret type, providing insights to help you make informed decisions on which turrets to deploy for maximum effectiveness.
Auto Cannon Turret
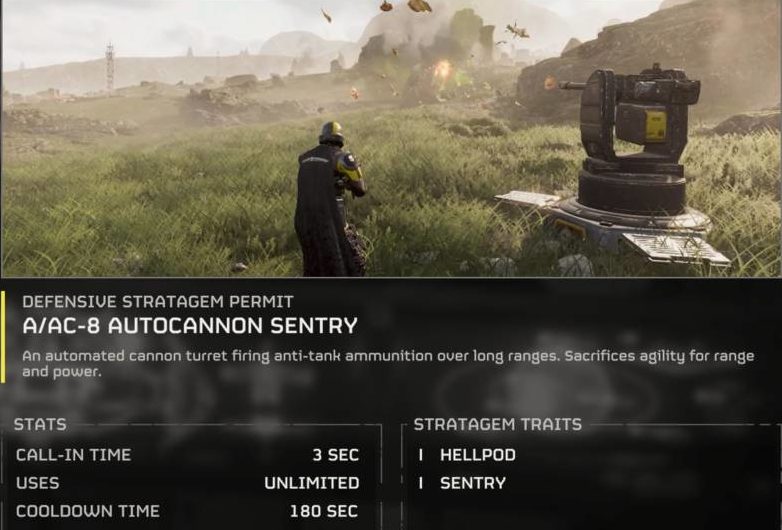
The Auto Cannon Turret stands out for its ability to efficiently deal with armored threats. Its automatic reloading feature ensures a steady stream of firepower, making it invaluable in heated battles. Particularly effective against armored foes, it requires strategic placement and team coordination due to its slow turning speed and indiscriminate targeting. Despite these drawbacks, its raw power and utility in pinching moments against heavily armored opponents make it an essential component of any squad’s arsenal.
Rocket Sentry
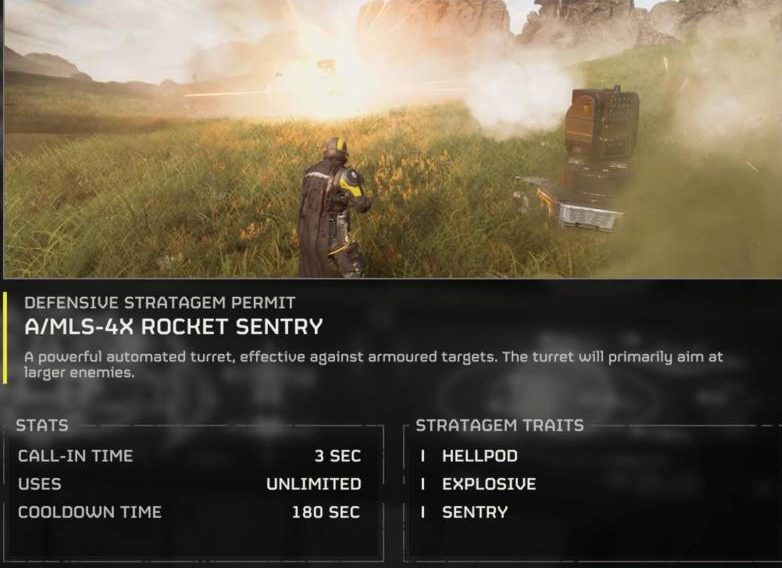
Versatile and powerful, the Rocket Sentry excels in taking down armored adversaries and groups of lesser foes with its splash damage. Capable of firing two rockets simultaneously, it effectively controls the battlefield. However, its backblast poses a risk to nearby teammates, necessitating careful positioning. The choice between the Auto Cannon and Rocket Sentry often comes down to personal preference and mission specifics, with both offering substantial benefits against a variety of threats.
Mortar Turret
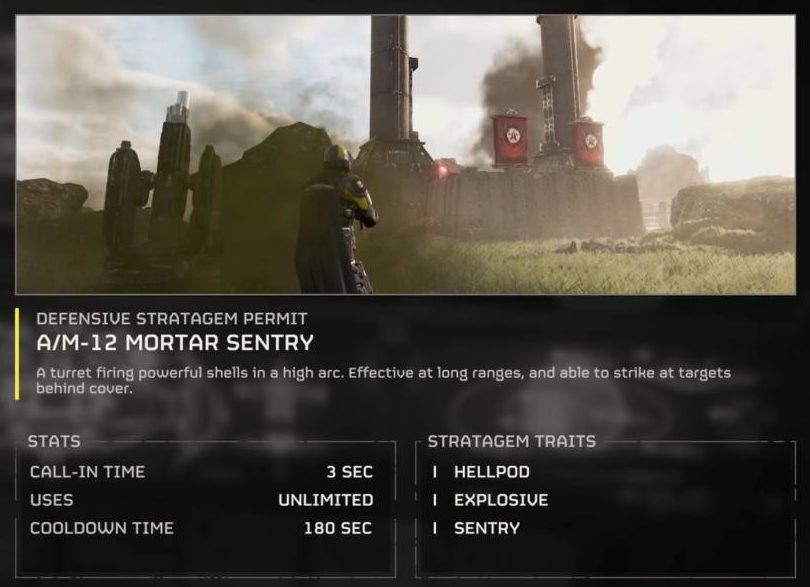
Renowned for its formidable area damage, the Mortar Turret can obliterate hordes of enemies with its explosive rounds. While it doesn’t boast pinpoint accuracy, its splash damage compensates by dispatching groups of enemies efficiently. Success with the Mortar Turret requires coordinated team play, as its indiscriminate fire can pose risks to teammates and provoke enemy patrols, especially in higher difficulty levels.
Gatling Sentry
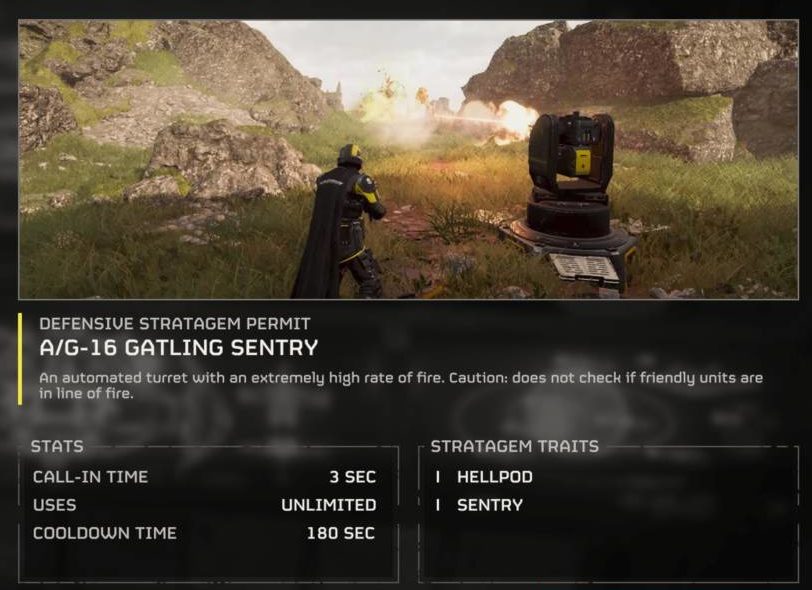
Dominating in horde-clearing capabilities, the Gatling Sentry boasts an unmatched fire rate that swiftly eliminates non-armored foes. However, its high ammunition consumption is a notable limitation, potentially leaving players vulnerable in prolonged engagements. When positioned strategically, it serves as an excellent tool for crowd control, though it demands judicious ammo management.
Machine Gun Turret
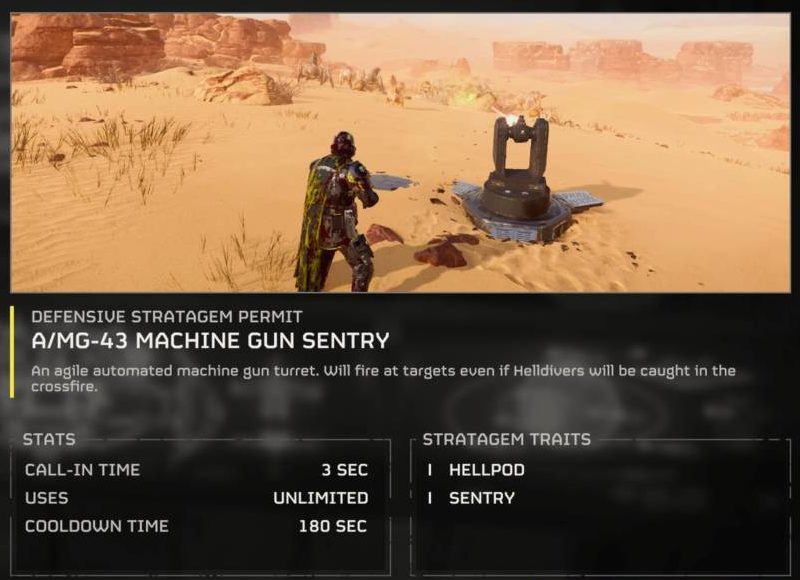
A foundational tool for players new to sentry deployment, the Machine Gun Turret is effective at clearing unarmored targets and introducing players to sentry mechanics. Its utility shines when complementing heavier turrets, helping to thin out enemy ranks and allow focus on more significant threats. Though not the first choice in advanced strategies, its role in a comprehensive sentry setup cannot be overlooked.
EMS Mortar
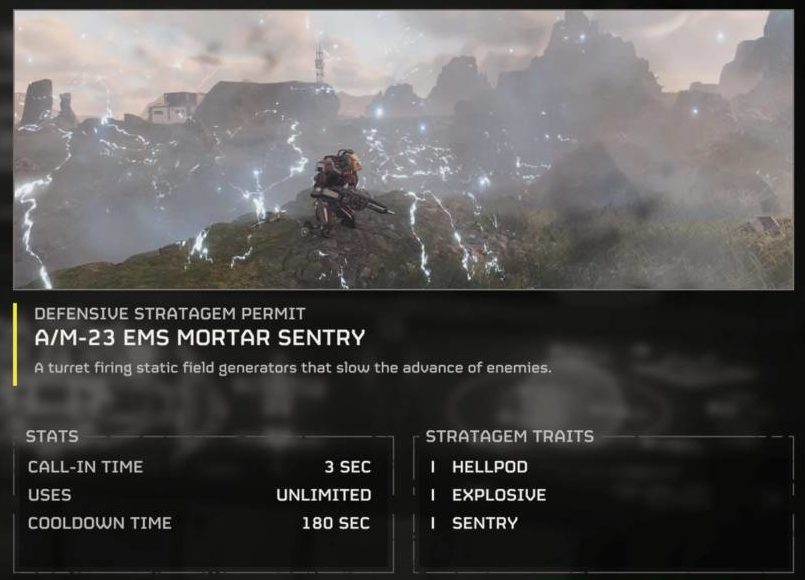
Offering exceptional crowd control and area-of-effect capabilities, the EMS Mortar immobilizes large targets and halts advancing hordes, dictating the flow of battle. It pairs well with fire-based attacks, clearing entrenched enemies and waves efficiently. Its indiscriminate targeting, however, requires caution to avoid compromising team positions, especially at higher difficulties where unintended engagement with patrols can be problematic.
Tesla Coil
Specializing in chokepoint defense and swarm mission handling, the Tesla Coil’s electrical attacks can be double-edged, potentially leading to team kills if not strategically placed. While incredibly effective under certain conditions, its utility is dependent on precise coordination and situational awareness, making it best suited for specific scenarios where its unique properties can be fully leveraged.
Conclusion
Each sentry turret in Helldivers 2 offers unique strengths and challenges, requiring players to adapt their strategies based on mission requirements and team composition. Understanding the nuances of each turret type will enhance your tactical decisions, contributing to the success of your missions. As always, effective communication and coordination with your squad are paramount to maximizing the potential of these powerful defensive tools.