The Long Coast Relic Ruin is probably going to be the longest and most complex Relic Ruin in Horizon: Forbidden West. This quest takes quite a lot of effort and since it takes place over a rather large area compared to other relic ruins in the game, you will have to put in quite a bit of effort to get to the bottom of this one.
This tutorial will guide you through all of the steps you need to complete to solve all of the complex mini challenges for Relic Ruins: The Long Coast.
Relic Ruins: The Long Coast Solution
To get started with this relic ruin, you will need to head over the to theatre section that contains the stage. Behind the stage, there is a room that contains the red explosive crystals glowing on the wall. You need to get in here and use your spear to detonate them. This will reveal a nice view of a lever that you can latch onto your pull caster.
Once you pull this switch, the lights surrounding the stage will begin to move. You will need to quickly walk backwards, out of the small room you are in and look up. You will see that the lights that were pointing to the front of the stage are nowhere. They won’t stay this way for long though. You will need to quickly latch onto these and then jump back to gain access to the upper level of the backstage area. Once up here, you will find a crate that you can pull down to the lower area.
Push the crate out of the theatre area to the lobby which can be found behind the seats. In this area you will find a lift that is missing a power core. There is one on the upper levels which you can pull out and need to quickly bring down to the power cell on the lift. Once inserted, the lift will come back to life.
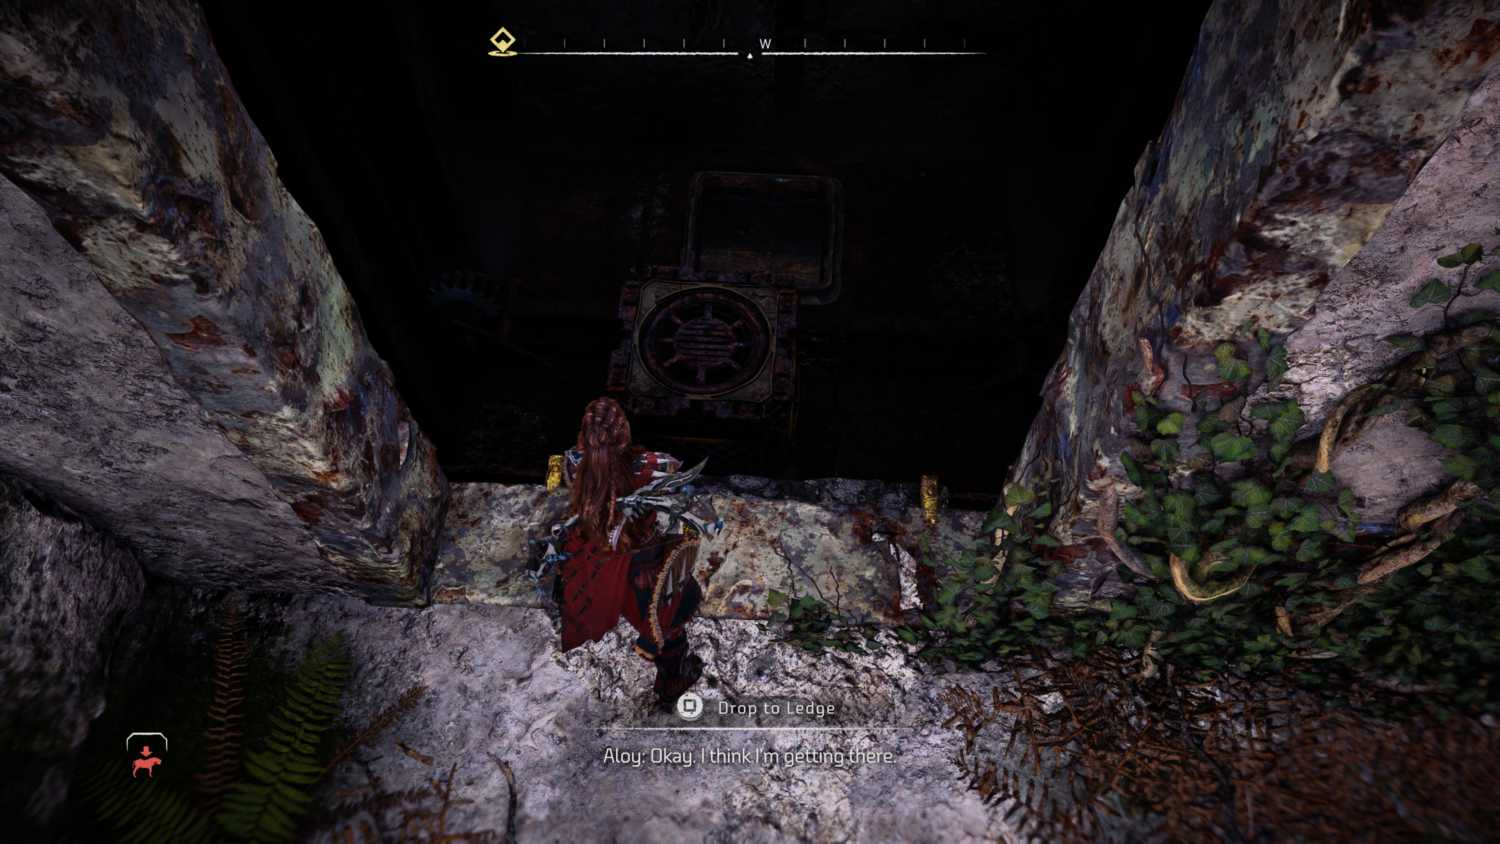
Once the lift has opened up, push the crate inside the lift. If you use the pulse on your focus, it will identify a hatch on the roof of the lift, similar to the lift you found at the very start of the game. Pull this off with your pull caster.
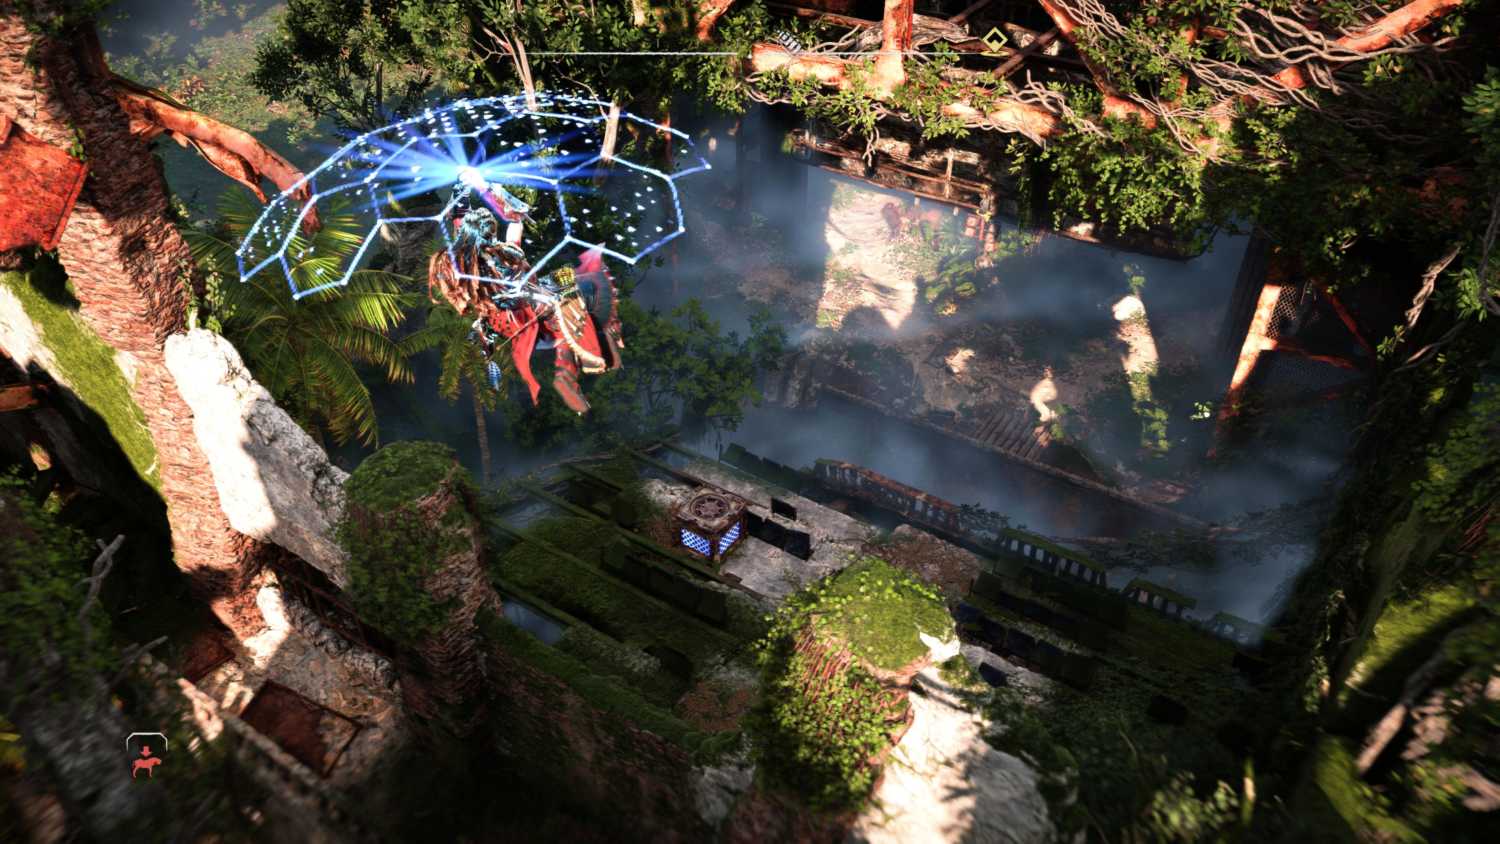
Head to the upper level of the lift and climb to the top of the tower for the lift. You will hear the sound from the relic inside but you are not ready to get it just you. Once you have climbed as high as possible, look toward the stage and glide toward it, dropping down to the upper level of seats facing the stage. You will see there is a second crate up here. Push this crate down and bring it to the lift.
You will find that it is not possible to push the crate to the upper floor of the lift as it is blocked by stone. You will need to push this crate down to the lower level and bring it to the lift. Leave one crate outside the lift and one inside the lift. Walk inside and take the lift up to the next level. When the doors open, take the crate out and leave it on the stone platform outside. Then call the lift back down to the bottom floor.
Push the second crate into the lift and then run upstairs and push the crate that you had previously left up there down into the shaft. This crate should land on top of the lift that is currently on the bottom floor.
Return to the lift at the bottom floor, head inside, make sure the second crate is inside with you and take the lift to the top floor. Once the lift is on the second floor, use the crate inside the lift to climb through the vent on the roof. You will now be inside the elevator shaft and you will see the second crate that you pushed down onto the lift earlier. Climb onto this crate and use it to jump over to the grapple point on the wall in front of you, just above the vent door on the lift.