
When you first connect your PlayStation 5 to the internet, either via Wifi or a wired LAN cable, your router is going to randomly assign an IP address to the console every time it has to reconnect to the internet. If you play a lot of games online, you will need to ensure you have an open NAT to minimise connection issues. To do this, you will need to set the PS5 up with a static IP.
Setting a static IP for the Ps5 is quite simple but just like the process for setting a static IP with the Xbox Series X, you will need to have access to the router for your home network and have an understanding on how to configure port forwarding. The steps below will guide you though the process but since different router brands and models have different user interfaces, you may need to check the manual for the router you have to figure out how to interface with it.
Record Current Network Information
Navigate to the Settings menu of your PlayStation 5 and go into Network. From here, you will be able to view your current network information by selecting “View Connection Status“. Make a record of the following pieces of information.
- Default Gateway
- Primary DNS
- Secondary DNS
- Subnet Mask
- IPv4 Address
Manually Set Static IP For PS5
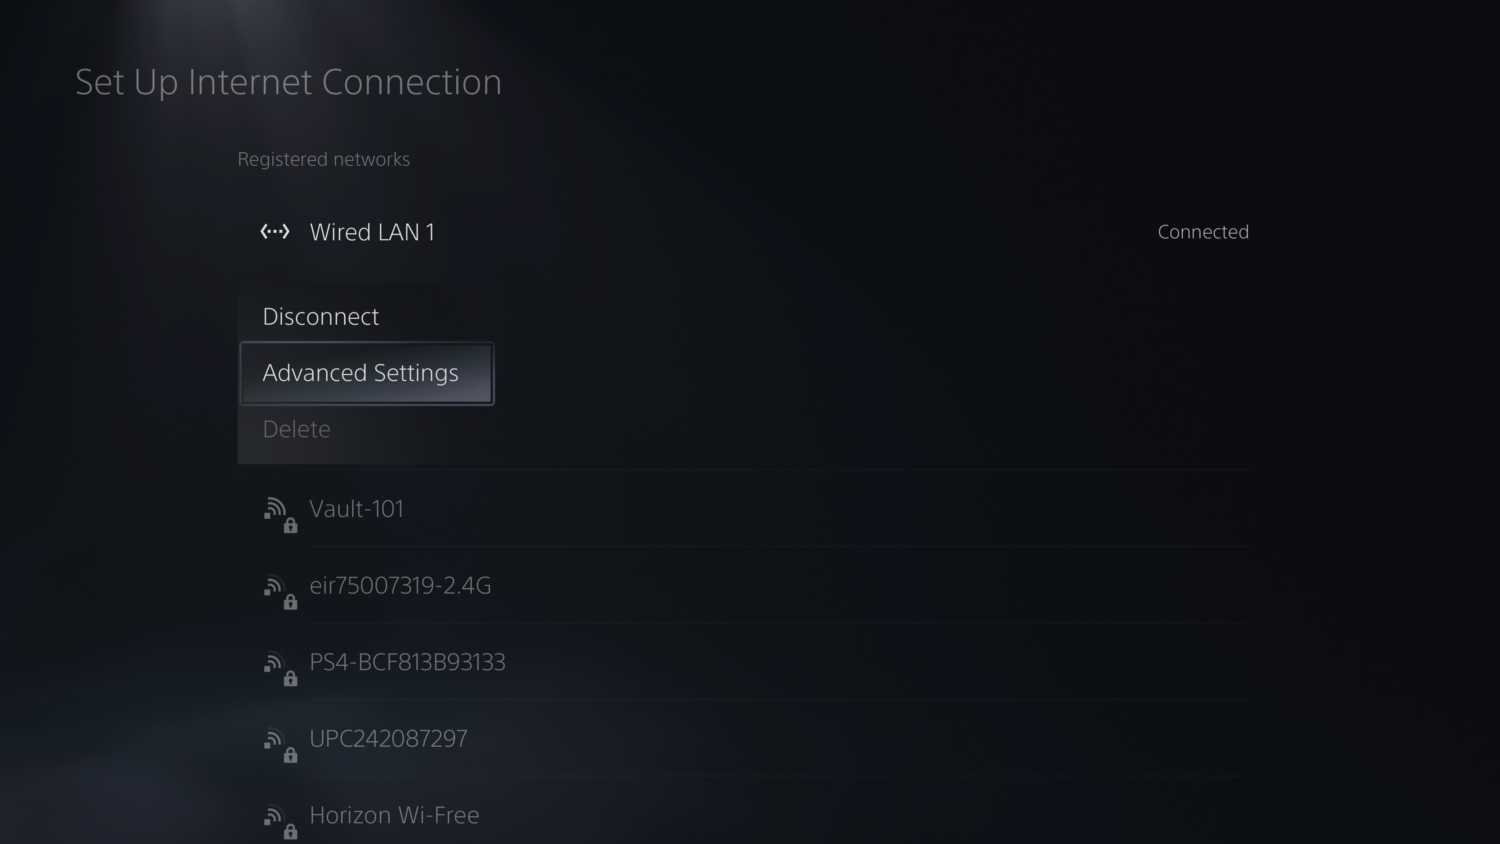
Navigate to Settings->Network->Set Up Connection->Options button on Active Connection->Advanced Settings. It is advised you use a wired connection if possible as this offers the fastest and most stable possible connection to the internet.
Select the “Advanced Settings” option from the active connection and this will bring you to a menu where you can modify some of the advanced options of your internet connection, such as selecting the IP address you want to use all of the time.
Deciding what IP Address To Use
When you set a manual IP on the PS5, this is not a guarantee that this will be reserved for you. It is possible that if you picked something like 192.168.1.10, your router could end up giving this IP to another device and when your PS5 tries to connect to the internet, you will be unable to secure that IP and as a result, unable to connect to the internet.
It is wise to select a high IP address. For my network, I chose 192.168.1.150. This means there would need to be over 100 devices connected to my home network before I would have trouble with this IP being used. This is not going to happen any time soon. I would suggest you do the same for your own IP. The first 3 segments may differ from mine. All you change are the characters in the last segment in the IP address.
Follow the steps below to change your IP address from automatic to a static IP.
- Change “IP Address Settings” option to “Manual“.
- Navigate to IPv4 Address and check the value that you recorded earlier. You should take the first 3 segments of this IP address and enter them in. For the final segment, change the value to 150. Your IP will be something like 192.168.1.150. (You may have a different value in the third segment).
- Set Subnet Mask to the value you recorded earlier
- Set Default Gateway, Primary DNS and Secondary DNS to the values recorded earlier.
- Press “OK” to save the settings and the system will perform a connection test. If everything was entered correctly, you will now have successfully setup a static IP address with your PlayStation 5.
If you are having any issues with the steps above, drop a comment below and I will try to help you out.
Opening PSN Ports For Better NAT Type
Having a static IP is a requirement for getting NAT Type 1 or 2 on the PS5. There are a few ports that need to be opened here. If you want to set this up on your system, check out this detailed guide on getting an open NAT on the PS5. Opening ports will require you to know how to use the router for your home network. This can be tricky for some but generally, port forwarding is quite easy. This guide will cover port forwarding on the PS5 in more detail.
For most, you will need to open the following ports to get a better NAT
- For TCP, enter 80, 443, 3478, 3479, 3480 in the appropriate fields (usually labeled “Start Port,” “End Port,” or “Port Range”).
- For UDP, enter 3478, 3479 in the appropriate fields.


Thank you, was changing my forwarded port everytime my ip changed after every PS5 restart lmao
I followed your directions and had the following problems:
1. No secondary DNS was listed for me to record. I eventually used 8.8.8.8 and 8.8.4.4 for primary and secondary;
2. After I entered the values for each category, the “done” bubble remained greyed out so I couldn’t save anything. Thanks for any help you could give me. This is a very frustrating problem.
Same problem, done bubble remains grey and inoperable.